
Like all UI designs, game UI design relies on the latest toolkits and technologies to deliver exceptional user experiences.
In the case of game UI, many UI designers leverage Unity’s features and tools. Unity is a cross-platform game development platform that supports UI designers with its UI toolkit.
In today’s guide, we’ll discuss the Unity UI toolkit in more depth. Best of all, we’ll reveal how you can use it to create engaging user interfaces.
What Is Unity’s UI Toolkit?
Like many UI toolkits, Unity’s UI toolkit is a designer’s toolbox that helps with creating and optimizing UI design. It contains several valuable resources and tools for building user interfaces.
Below, we’ve listed some of this UI toolkit’s most compelling features to help you understand its potential.
- UI Builder: The tool you need to create and edit your games.
- UI Debugger: This feature is essential if you want to ensure your game runs smoothly
- Font Rendering Technology: A tool with modern styling capabilities that allows designers to create readable and compelling typography.
- Reusable UI Transitions: This feature helps designers re-use and edit seamless UI transitions, allowing for a more streamlined workflow.
- Render Hints: This gives you greater autonomy over the game’s rendering performance.
Your Must-Have Unity UI Toolkit Tutorial
Now, you know how Unity’s UI kit can help you create exceptional user interface designs. The next step is to learn how to use Unity’s UI kit.
Below, you’ll find a handy Unity UI toolkit tutorial. This tutorial will show you how to create a custom window in Unity Editor and add UI elements to it.
1. Installing Your Toolkit
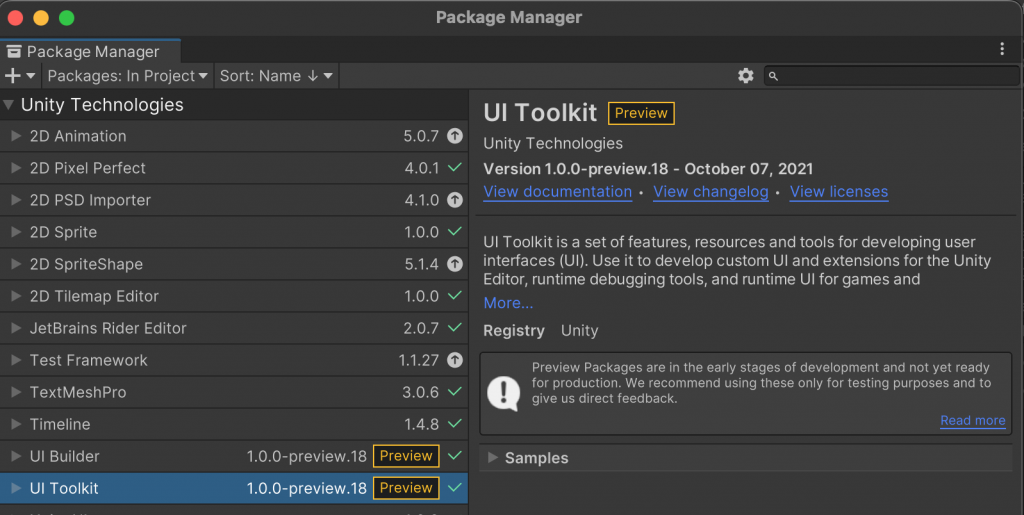
Before you do anything with your Unity toolkit, you need to set up your project. To do that, you need to start by installing your UI toolkit. You have two options here – to install the built-in version or the package.
Your selection will depend on whether you want to create Editor-only UIs or a mix of runtime and Editor UIs.
If you opt for the former of the two options, it’s best to install the built-in version. If you prefer the latter, you should install the UI toolkit package.
This package has the same features as the built-in version. The difference between them is that, with the package, you have access to additional runtime features.
Here’s how you install the package from the package manager:
- Click on the + option.
- Select the option that reads Add package from git URL, and an input field will appear.
- Enter com.unity.ui into the input field.
- Click the Add option.
From here, the package manager will automatically handle the installation of the UI package.
Tip: Make sure to install the UI Builder package as well.

2. Creating a Custom Window in Unity Editor
Now, you need to create your project in Unity Editor. This is how to do it:
To open your new Editor window, all you need to do is find the Window menu and select the UI Toolkit option and then the MyCustomEditor option.
Start from scratch, or choose one of Unity’s templates.
From the Project window, you’ll find a folder titled Assets.
Right-click this folder and select the Create option. A dropdown menu should appear.
Navigate to the UI Toolkit option and then to the Editor Window option.
In the UI Toolkit Editor Window Creator input field, enter the phrase MyCustomEditor.
You’ll then see two checkboxes for Unity Extensible Markup Language (UXML) and Unity Style Sheet (USS). UXML files define the structure of your user interface. USS files are assets that support style rules and take inspiration from CSS (Cascading Style Sheets).
You should only remove the tick from the USS checkbox.
Simply click the Confirm option.

3. Adding UI Controls
It’s worth noting that you can add your UI controls using C# scripting language or UXML text files. However, since using the UI Builder package to add UI controls is simpler, we’ll focus on that route.
We’ll also focus on creating the most basic element of a user interface – buttons. To do this, you must follow these steps:
- Start by opening the Editor folder.
- Double-click the option that reads MyCustomEditor.uxml (this option opens the UI Builder).
- Drag the Button component from the Controls option in the Library tab.
- You’ll then drop the Button component into the Hierarchy window. While still in the Hierarchy window, select the Label option. By doing this, you can change the default text in the input field from the Inspector window.
- Select the Button and, while in the Inspector window, enter the name of your button in the input field.
- Then, simply enter the button’s name in the Name field and save and close your Editor and UI Builder windows.
If you want to return to your button component, you just need to reopen your custom Unity Editor window.
Tip: In the Inspector window, make sure you’ve set the Visual Tree Asset to “MyCustomEditor (Visual Tree Asset).”
4. Testing Your UI
You have your first UI component. You can now experiment by dragging and dropping other components from the Library to the Hierarchy window. You can also experiment with event handlers to determine how your UI should react when you perform ‘in-product’ actions.
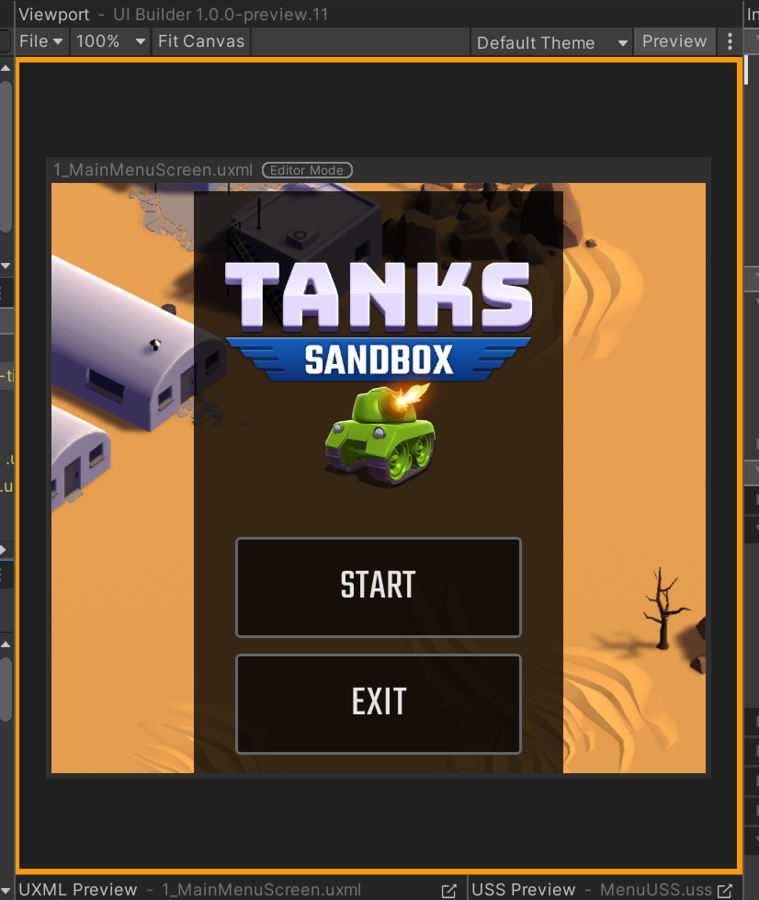
Once you have a complete UI/Canvas, you can enable Preview mode. You can find this mode in the Viewport’s toolbar. Preview mode allows you to see your UI from the user’s perspective.
We recommend interacting with your UI elements to ensure they function as the user would expect them to. It’s also wise to make sure your UI aligns with UI design principles and accessible design practices.
FAQ
How do I use Unity’s UI toolkit?
Here is a brief, step-by-step guide on how to use the UI toolkit from Unity.
1.Install the UI Toolkit package.
2. Create a custom window in Unity Editor.
3. Drag and drop reusable UI components from Unity’s Library to your Hierarchy window.
4. Label your UI elements.
5. Set the behaviors and responses of your UI controls with event handlers.
6. Test your UI.
Why use a UI kit?
UI kits save designers valuable time during the design process since they don’t have to create common elements from scratch. Instead, they can simply edit the reusable components, templates, and styles from their UI kit.
Since a UI kit saves designers time during the design process, it also contributes to quickly-produced deliverables.
Do I need Unity Hub to use Unity Editor?
You don’t need Unity Hub to use Unity Editor. You can simply install Unity Editor as a standalone application. That said, we don’t recommend doing this since Unity Hub streamlines project navigation and management.
Use Your Knowledge of the Unity UI Toolkit in Combination With Page Flows
Hopefully, you feel more confident about using a UI toolkit, Unity, and your own creativity to create compelling user interfaces.
To master the art of game UI design, or user interface design in general, you must start by optimizing basic but crucial components – user flows. This is where Page Flows enters the picture.
Page Flows is the home of an impressive collection of user flow recordings and screenshots. Our resources cover a range of user flows, from adding to cart to uploading and downloading.
We also collect recordings and screenshots from diverse industries and successful brands, such as Airbnb and Disney.
Our aim is to provide every designer with a solid foundation of knowledge that they can leverage for their designs. After all, to reinvent the wheel, you first need to learn from it.
Like a Unity UI toolkit, we have the tools you need to create the products that your users will love. So, check out Page Flows now to learn what it takes to create a seamless, intuitive user experience!