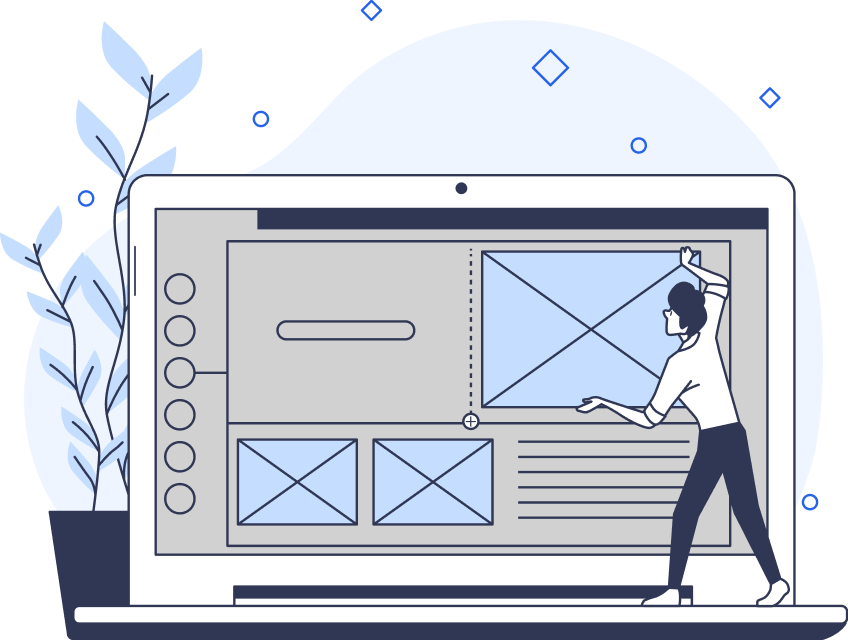
UX designers require a lot of skills, but prototyping is a key one. If you want to create successful user experiences, you need to test the designs, and this means prototyping. UX prototyping can be a complex, iterative process, with many reasons for its importance.
Essentially, prototyping involves creating representations of your product before you focus on the final thing. However, there’s much more to it than this simple definition.
In this guide, we’ll explain what a prototype is, how to create one, and why it’s so crucial. Let’s dive in.
What Is a UX Prototype?
Firstly, what is a UX prototype? Essentially, it is a preliminary version of the digital product you are creating. Before developers code the final product, designers prototype UX design to learn more about how it will work.
Usually, this happens in the earliest stage of creation. Following research and idea creation, the design team will begin to create wireframes and then prototypes. Then, they test the prototype to ensure they’re on the right track.
Prototypes are also useful for convincing stakeholders and demonstrating things to developers. Whether you want to demonstrate the entire product or just one interaction, a prototype is how to do it.
While prototypes and wireframes have a lot in common, they are not the same thing. So, you also need to understand the differences between the two.
Prototypes vs. Wireframes
A wireframe is also a representation of a digital product. However, a wireframe is more like a rough sketch. Meanwhile, a UX prototype must have some level of interactivity.
The level of interactivity for a prototype can vary. It often depends on the stage of the design process and the project itself. For example, projects with a larger budget and a longer time can create more complex prototypes.
So, essentially, the difference between the two is interactivity. However, there are also different kinds of prototypes that vary among themselves. Each level of interactivity has different benefits; the more interactive the prototype, the more accurate the tests. That said, even simpler prototypes have their place.
Generally, design teams will create wireframes first, test them, and then move on to creating prototypes. By testing at every phase of the design process, it’s possible to produce the most successful results.
Why Are Prototypes Important?
Prototyping is a crucial part of usability testing. Knowing how to create and test prototypes means you can refine the project as you go. This has a wide range of benefits that all ultimately, create a better user experience. Plus, it can save time and money down the line.
- Easier to uncover potential issues: Prototypes are great for testing. The earlier you diagnose a potential problem, the quicker you can solve it. As a result, you waste less time and money trying to fix it later.
- Better experience of the product: Sometimes, designers are too close to their work. Working with prototypes means you spend more time actually using the product. As a result, you can understand its exceptional use cases.
- More innovation: If you’re designing a product with a novel interaction or design, you need a prototype. It will help you to experiment with pushing the boundaries.
- Better communication: Designers can use prototypes to quickly present their designs and ideas. This improves communication among the team, with stakeholders, and with developers.
- Usability testing: Prototypes also allow you to conduct user tests before launch. They can provide a valuable source of feedback.
Essentially, prototyping helps you ensure your product works as intended, maximizing the user experience. It gives you a true understanding of the product, meaning you can make better decisions that benefit both users and stakeholders.
You can catch potential points of friction, possible bugs, and more. Even if you don’t find anything wrong with the product, you might spot areas for improvement. From the placement of CTA buttons to the color scheme, there are always areas where you might improve your design.
The Types of Prototypes
There are several types of prototypes. Primarily, they differ based on their interactivity and something called fidelity. Fidelity refers to how close the prototype is to the final product.
So, a high-fidelity prototype has very similar functionalities, aesthetic designs, and content to the real thing. Meanwhile, a low-fidelity prototype may have limited functionality but still convey the visual design.
Here’s what they mean in more detail.
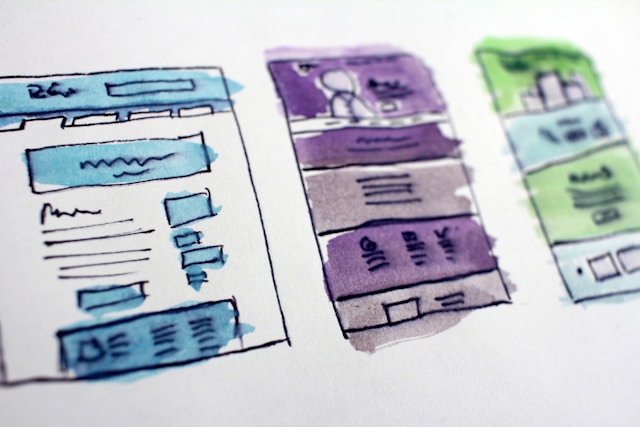
Low-Fidelity Prototypes
A low-fidelity (or lo-fi) prototype is an incomplete representation of the final product. Low-fidelity prototypes are still highly useful, especially for user testing.
Most often, designers create them to test functionality. So, while the prototype is interactive and functional, it may not include the right visual design. Color, typography, and content may be lacking. Nevertheless, the design team can simulate the user’s interactions with the product.
Wireframes are a form of lo-fi prototype. However, this category also includes more interactive mock-ups for later testing stages.
Lo-fi prototypes have several benefits; primarily, they are cheaper to produce. They can also help to foster team collaboration early in the process, ensuring everybody is on the same page.
That said, they’re less useful for testing with real users. This is because users can become confused by the lack of visuals. Indeed, lo-fi prototypes can require a bit of imagination for you to understand how they map onto the final product.
Hi-Fidelity Prototypes
On the other hand, high-fidelity prototypes (or hi-fi prototypes) are much closer to the real thing. A hi-fi prototype is realistic, functional, and detailed. It may include the same colors, fonts, content, and functionality as the real digital product.
Usually, design teams begin with lo-fi prototypes to test their initial ideas. Later, they build hi-fi prototypes that are better for testing with real users. Of course, design teams can also use these prototypes to present to stakeholders and developers. However, their main benefit is real user testing.
As you may have guessed, high-fidelity prototypes are more expensive to produce. They take more time to develop and are more complex. However, it’s important to test the product before launch, which makes hi-fi prototypes a worthy expense.
You can learn a lot from prototypes, including micro-interactions, user flow, and how your transitions play out.
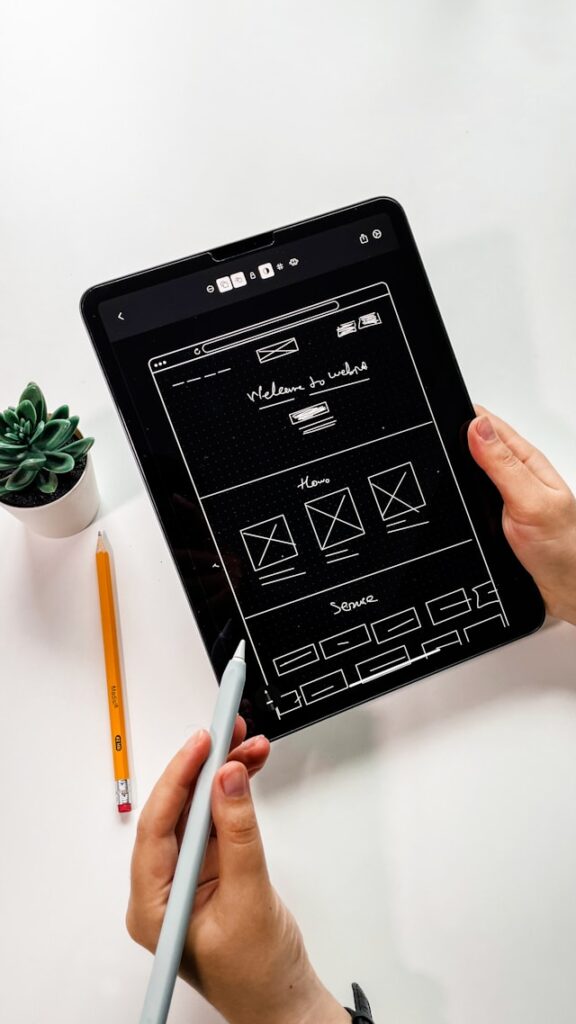
How Can You Make Prototypes
Alongside fidelity, there are also different types of prototypes in terms of their composition. There are a few ways to make prototypes, including analog (on paper) and digital. While analog prototypes have a low fidelity, they can be great for quick sketches and saving budget. Meanwhile, digital prototypes are more complex.
Here are the types you need to consider.
- Paper prototype: Paper prototyping involves sketching a digital interface on paper. This is a low-fidelity prototype, a type of wireframe that provides a rough gist. The design team can ‘test’ this design by imagining how the user will navigate between different layouts.
- Linked wireframe prototype: This is similar to paper prototyping but with digital wireframes. The design team creates rough sketches online and then links them together. So, when somebody clicks something, it will navigate to another wireframe. This is still a lo-fi prototype but more interactive.
- Digital prototype: A digital prototype moves into the range of a high-fidelity mockup. This prototype involves creating the entire app or site using the software. They are much more responsive and interactive, allowing for better user testing.
- Coded prototype: The closest prototype to the real thing is a coded prototype. This involves coding the entire thing to make something that’s interactive and almost real. Not all design teams use coded prototypes, but they can be beneficial for handing off to the developers.
How To Make a Prototype
If you’re wondering how to make a prototype, the process can vary depending on the project at hand. Generally, the process looks like this:
- The design team collaborates to generate their ideas for the product.
- They sketch paper wireframes and determine user flows, iterating the design as they go.
- Next, they create lo-fi digital prototypes to test navigation and information architecture.
- They build more complex mockups resembling the final product, adding finishing touches like color and animations.
- When they are happy with the iterations, they hand over to the developers.
However, there are a few different approaches to the process. Let’s explore them in more detail.
Paper → Digital → Code
This is the more traditional method of prototyping. It involves going from the quickest and cheapest form to the most complicated at a slow pace. However, it jumps right from a lo-fi digital prototype to full-blown code.
However, lo-fi prototyping often fails to catch usability issues. As a result, it’s best not to linger on the paper prototyping stage.
Not all UX designers can code. This method is used more by senior designers who know how to code but are unfamiliar with prototyping software.
HTML Prototyping → Code
Freelance developers working on their own might skip some early prototyping methods and jump right to digital. Moving from HTML prototyping to coding is complex, so this method is better for skilled developers and coders.
This method of prototyping can be slow, but it’s ideal for efficient user testing when you have a clear idea.
Wireframes → Digital
These days, design teams often start with lo-fi prototypes either on paper or design software like Figma. They may skip paper altogether and create linked wireframes from the get-go, with better interactivity providing better user testing.
After that, they build lo-fi and then hi-fi digital prototypes. At the end, they hand everything off to the developers to complete the coding.
3 Best UX Prototyping Tools
When it comes to digital prototyping, designers use some common tools. There are plenty of prototyping software options, so it’s important to find what works for you. That said, here are three of the most popular UX prototyping tools.
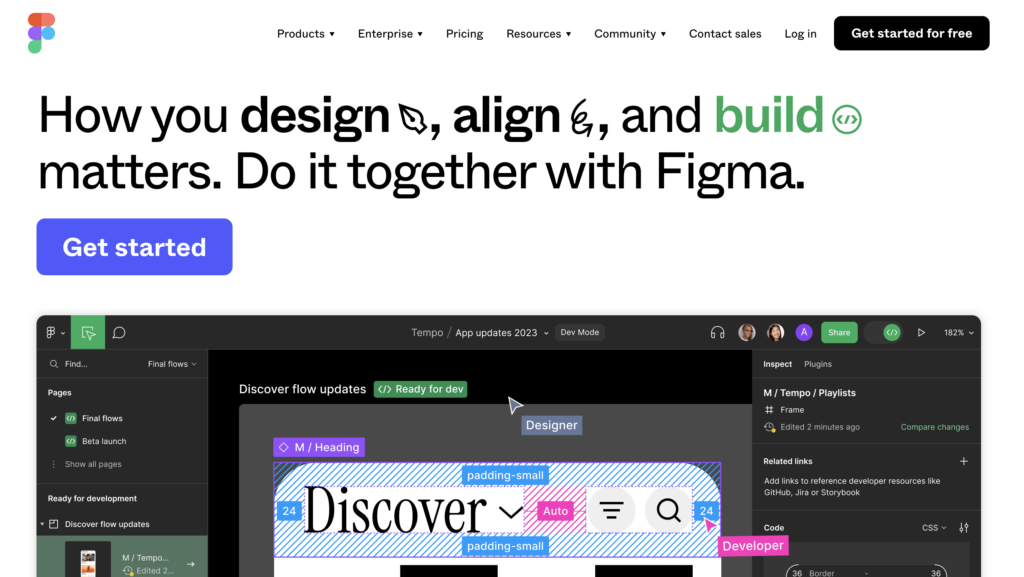
1. Figma
Figma is one of the best design tools because it does everything. Whether you want to build interactive prototypes, design user interfaces, or hand off to developers, Figma can do it.
Best of all, Figma has a user-friendly interface that makes it easy to use and build prototypes. You don’t need any coding knowledge to use it effectively. It works for both MacOS and Windows, or you can open it in your browser.
Generally, designers use Figma to transform their static designs into mid-fidelity, interactive prototypes. You can connect various interfaces with a bank of animations and interactions. Then, view your design on the Figma app or in your browser.
Price: Free with the Starter plan. $12 per editor/month with the Professional plan. $45 per editor/month with the Organization plan.
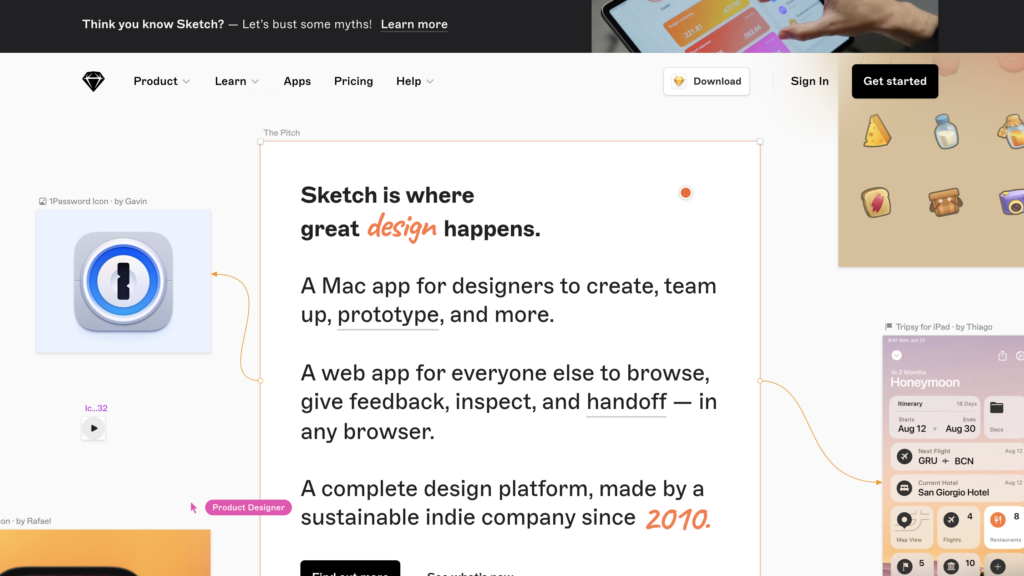
2. Sketch
Another popular option is Sketch, which also has all the features you need to build clickable prototypes. Again, you can perform every stage, from static designs to developer handoff.
To use Sketch, you first need to create your static designs using the Canvas tool. Then, use the prototyping function to animate interactions between screens. You can also add Hotspots, which are clickable areas to test functionality. Sketch is great for light prototyping, but you can’t make your designs too complicated.
When you’re happy with your design, you can view it in the Sketch app. Unfortunately, Sketch is only available for MacOS and iOS.
Price: $9 per editor/month with the Standard plan.
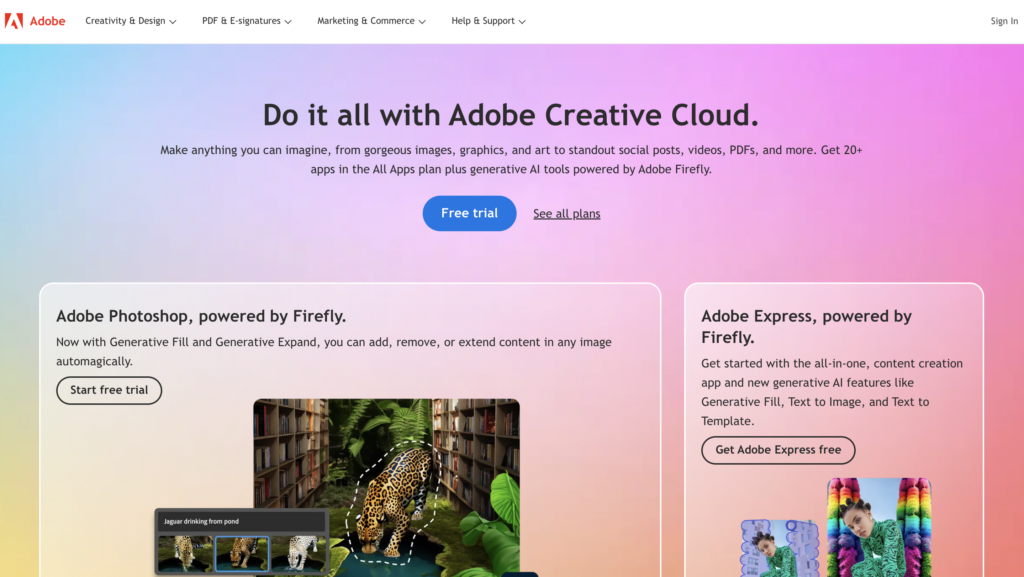
3. Adobe XD
Adobe XD is a more powerful tool for design. Many designers swear by the Adobe Suite, and it’s no surprise.
With Adobe XD, you can create user interface designs, wireframes, and prototypes and even collaborate with team members. The interface is easy to use, and you don’t need any coding experience. However, there is a small learning curve when using Adobe products.
There are two modes you can use to create prototypes. Design mode is best for creating static designs that represent your different screens. Meanwhile, Prototype mode is ideal for drawing interactive links between your screens to test the user flow.
You can share your design with team members via a URL or embed code. The commenting function makes it easy to gain feedback in real time.
Price: $9.99 per month, or $52.99 per month as part of the Adobe Creative Cloud suite.
Take Your UX Designs to the Next Level
UX prototyping is a crucial part of the design process. Neglect it, and you risk missing a usability issue. Down the line, this could be a costly bug to fix. As a result, it’s important to treat the prototyping phase as an essential part of design. After all, it will help you iterate your design until it’s as close to perfect as can be.
Of course, as a UX designer, there’s a lot you need to consider when designing. If you want to find the best design inspiration, you can always learn from proven products. Page Flows is a helpful resource for finding UX design ideas. Get started today to access our growing library of user flow recordings and stay up-to-date with the latest design trends.