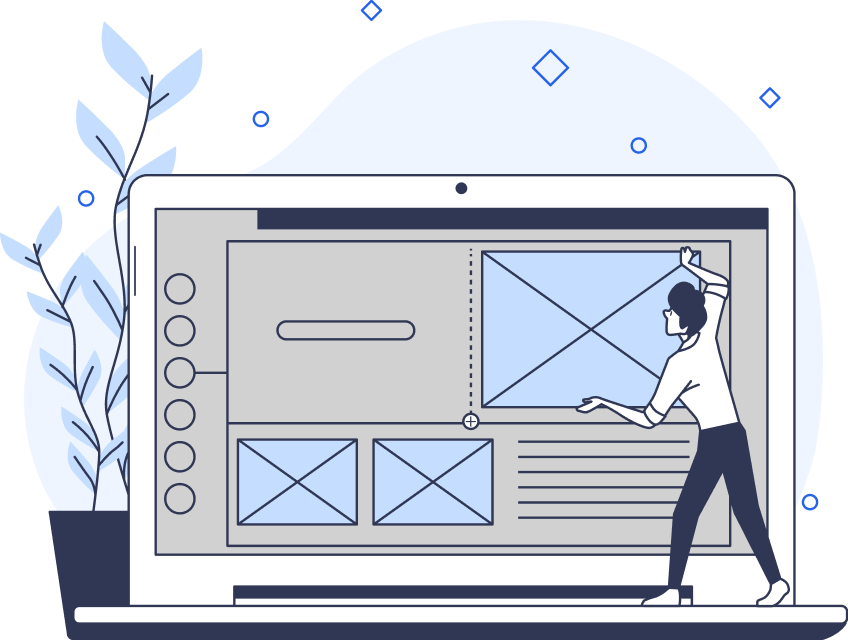
Every digital product you know was once a high-fidelity prototype. In fact, you can’t create polished digital products without building interactive prototypes first.
For that reason, UX designers are always looking for the best prototyping software to help them create effective prototypes. In today’s guide, we’ll help you in your search by discussing the best prototyping tools within the digital landscape.
What Is Prototyping Software?
To understand what prototyping software is, you need first to know what a UX prototype is.
A prototype is a representation of your product that simulates its final design and functionality. It proves invaluable to UX designers and developers who want to evaluate their designs prior to full-scale production.
During user testing sessions, participants interact with a designer’s prototype. These sessions provide designers with feedback that they will then use to spot and fix any usability issues.
Ultimately, prototypes allow designers to optimize their product’s usability and user-friendliness before the costly development process begins.
With the right software, prototyping becomes effortless. The best prototyping tools allow designers to create prototypes quickly, all while leveraging real-time collaboration and improved time/cost efficiency.
The Best Prototyping Tools That You Should Try
Now that you know what prototyping tools are, you need to know where to find the best ones. You won’t have to search for long; below, we’ve discussed the most helpful prototype software.
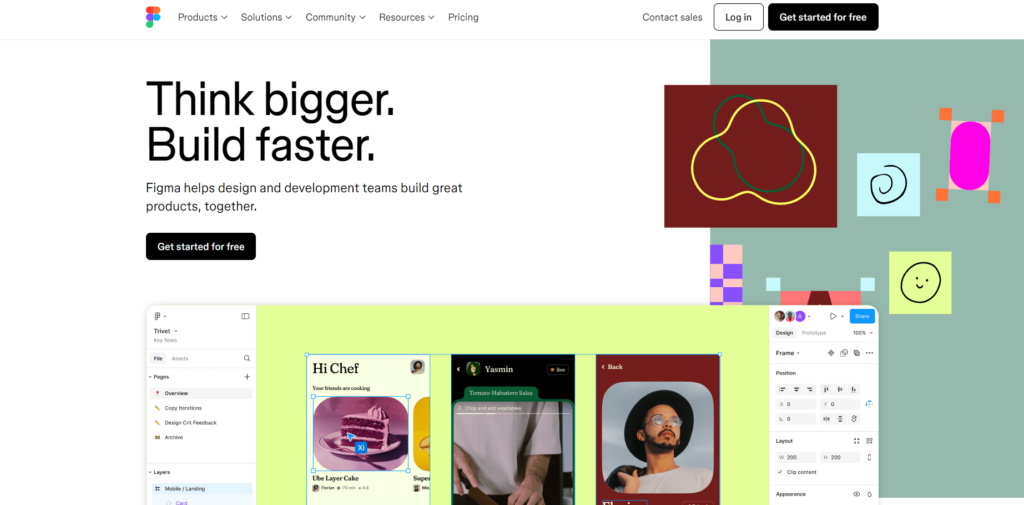
1. Figma
If you’re looking for a powerful prototyping tool, we strongly suggest experimenting with Figma. Double as wireframing software, prototyping software doesn’t get any better than Figma.
With Figma, you and your designers can conduct all of your prototyping tasks in one centralized location. The immediate benefit is that you can collaborate with ease, creating quicker iterations and more innovative design solutions.
You can even leverage pre-built interactions with pre-defined components like checkboxes, volume control bars, and error messages. As you can imagine, these features will streamline your workflow. What’s more, Figma is perfect for prototyping mobile app designs.
Let’s say you were creating a social media app. With Figma, which values responsiveness, you can utilize an advanced prototype viewer that automatically resizes your designs for any screen. Additionally, you can even add animated GIFs and videos that are popular among mobile users to maintain user engagement.
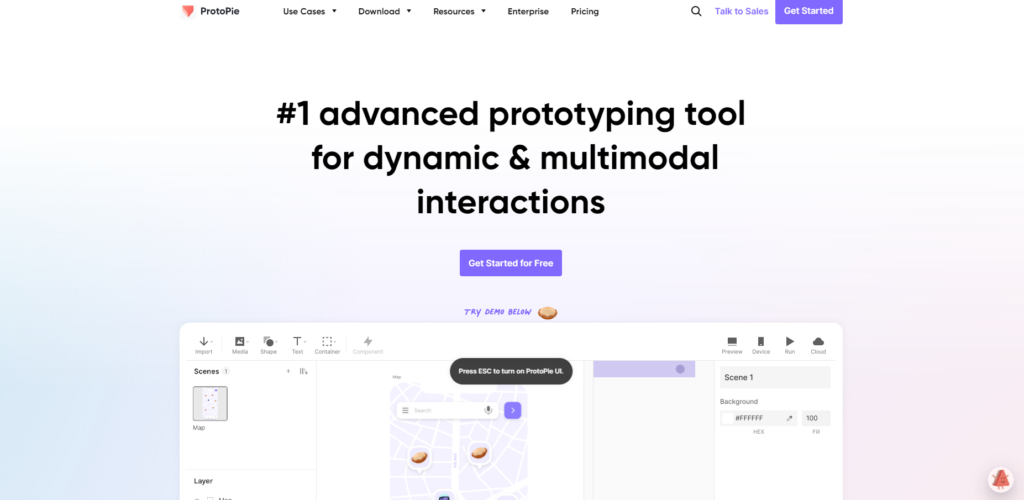
2. ProtoPie
ProtoPie is one of the best tools for creating interactive prototypes. With ProtoPie, you can create realistic camera interactions, optimize responsive designs, and import designs from Figma, Sketch, and Adobe XD.
With ProtoPie’s companion tool, ProtoPie Player, you can assume the role of your users and experience and test your prototypes. As designers, these features are invaluable to you. Not only can you create stunning prototypes with ProtoPie, but you can also ensure their usability and user-centricity.
What’s more, ProtoPie’s capabilities go far beyond websites and mobile apps. Let’s say you were creating a game, and you needed to design a prototype that displayed its logic and immersion.
In ProtoPie, you can do this seamlessly. You can implement multi-touch gestures, customize game levels, and even test the UI design of any gamepad you integrate.
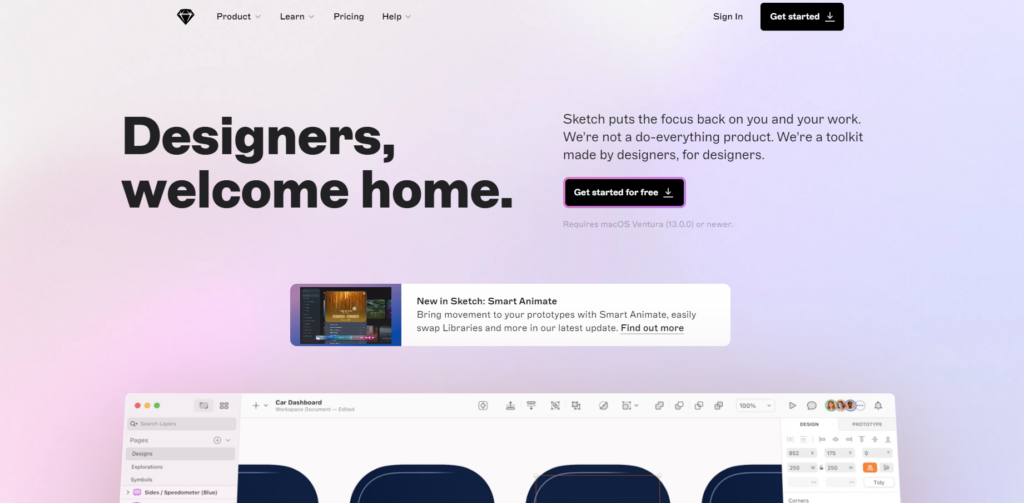
3. Sketch
If you want a prototyping tool that doesn’t have a steep learning curve, you’ll love Sketch. Like many other prototyping tools, Sketch provides designers with reusable components that will save them valuable time.
But what’s great about Sketch is that you can use these features in conjunction with a smart layout function. This means that you don’t need to worry about manually adapting your content to different screen estates.
You can also implement several different starting points within your prototype to simulate your user segment’s unique interactions. You can even turn your interfaces into engaging overlays, utilize a variety of triggers and toggles, and leverage multi-directional scrolling.
We highly recommend using Sketch for your high-fidelity prototypes. With Sketch, you can create complex interactions and animated transitions, all while using a multitude of powerful visual design tools.
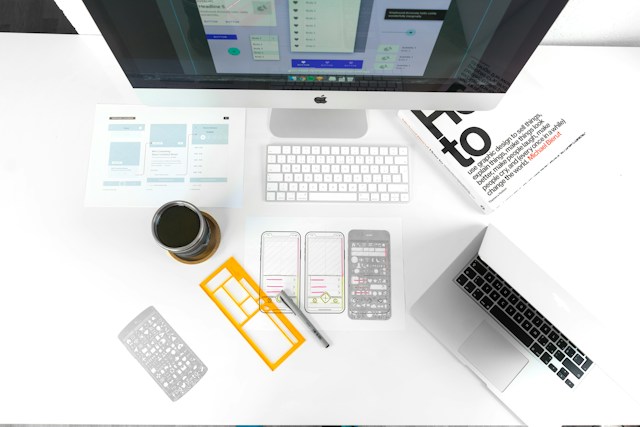
How To Prototype Software Successfully
You have your tools, and now, you need to know how to use them. By following our instructions below, you’ll learn how to create prototypes like a seasoned designer.

1. Understanding Your Requirements
Before you begin prototyping, you’ll need to understand what your stakeholders require of you. To do this, you’ll either interview your stakeholders or have several conversations with them.
These conversations nearly always pertain to their business’s goals and what they want to achieve with their product. From such discussions, you’ll be able to define your project’s scope, target users, budgets, and deadlines in your design documentation.
From this point on, UX researchers will start conducting user research to understand your target users’ needs and desires. This research is vital for developing an accurate problem statement that your designs will aim to resolve.
After analyzing this research, your team’s researchers will transform their user-focused data into actionable insights. When this happens, you’ll have everything you need to start ideating potential design solutions.
2. Choosing Prototype Fidelity
When you have access to the actionable insights from user research, you’ll be able to start ideating prototype concepts. Some designers find it helpful to brainstorm their ideas on paper during this ideation phase.
But your ideas won’t go very far if you don’t understand what type of prototype you want to create. There are three types of prototype fidelity that you should know.
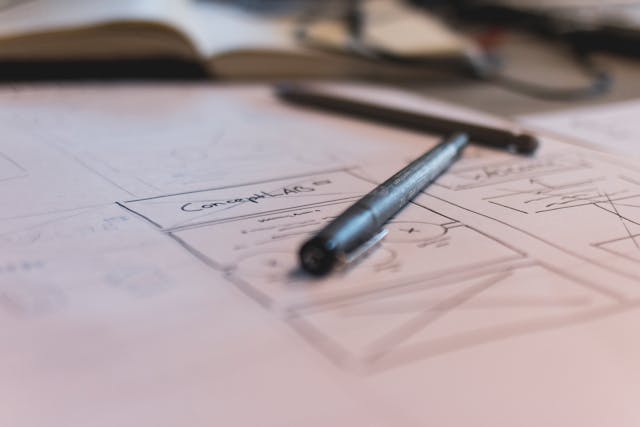
The first is low-fidelity prototypes. These prototypes represent very basic design ideas through the use of hand-drawn sketches and wireframes. Due to their simplicity and lack of detail, you can create low-fidelity prototypes easily and efficiently.
Low-fidelity prototypes focus solely on the product’s functionality, allowing designers to assess its basic structure and navigational flows.
The second prototype you should know about is the mid-fidelity prototype, which you’ll typically use software to build. Like their predecessors, mid-fidelity prototypes focus more on functionality than visual flourishes. The difference between them is that mid-fidelity prototypes often include some interactive elements.
Although mid-fidelity prototypes don’t usually include visual flourishes, they do accurately represent basic UI components like buttons. You would typically use mid-fidelity prototypes when you know you’ll have to make quick and frequent modifications to your designs.
Lastly, you have high-fidelity prototypes, which you’ll definitely need a prototyping tool to create. High-fidelity prototypes resemble the product’s final design very closely and are, for that reason, very detailed.
They will contain interactive elements and visual details, including color, imagery, icons, and typographic elements. Because of their resource-intensive nature, you should only build high-fidelity prototypes toward the end of the design process.
Alternatively, you can also use high-fidelity prototypes when you need to test and assess a particularly complex user interaction.

3. Assembling the Right Tools
You’re almost ready to start building your prototypes; you just need to assemble the right tools according to their fidelities.
When you create low-fidelity prototypes, you can simply use a pen and paper if you wish. But for mid and high-fidelity prototypes, you’d benefit greatly from using a digital tool. Of course, we recommend using the tools that we discussed earlier.
If none of those tools are for you and you’d like to look for another tool, consider asking yourself:
- Can this tool support the level of complexity that my prototypes need to display?
- Will I encounter a steep learning curve by using this tool?
- Does my prospective tool allow for collaboration?
- What are other users saying about the tool’s effectiveness?
- Does my prospective tool offer a balanced variety of basic and advanced features?
- Are there any additional features within the tool that my team would prefer to use?
- Can I work on unlimited projects with this software?
4. Starting With Low-Fidelity Prototypes
After finding the right tools, you can start creating your low-fidelity prototypes. At this stage, you just want to focus on your product’s basic structure and representations of must-have elements. In other words, keep them simple.
Your main goal here is to refine your product’s navigation by mapping your user flows across every user interface.

5. Adding Interactivity
You’ll now turn your static core elements from your low-fidelity prototypes into interactive components. You should now create elements like clickable buttons and menus and start elevating their appearance for improved visual clarity.
Your interactive elements will allow you to create cohesion between your user interfaces and simulate user actions and system feedback. This is how you create mid-fidelity prototypes that you can then test to ensure your product’s core functionalities operate effectively.
6. Elevating Your Prototypes
Your next goal is to turn your mid-fidelity prototypes into high-fidelity prototypes. To do this, you’ll need to add your visual elements, including brand-specific flourishes and complex animations.
If your product requires complicated interactions, now is the time to add and polish them. Your prototype will be complete when it is highly detailed and contains both visual and interactive UI components.
Ultimately, your high-fidelity prototype should appear as close to the finished product as you can make it.
7. Testing Your Designs
The last thing you’ll need to do is test your prototype’s accessibility and usability before handing it off to developers.
To ensure the highest quality of your product, we recommend conducting various usability testing methods with real users. The feedback you receive from your testing sessions will reveal potential improvements that you can then implement.
This is an iterative process; you’ll go through multiple rounds of testing sessions until you get a polished product. Once you’re happy with your prototype, you can hand it over to developers, who will begin the product development process.
Using Prototyping Software: Enhance User Experience With Page Flows
With the right prototyping tools, you can create better prototypes and, thus, more user-centric products.
But every software, prototype, and even wireframe you leverage would prove ineffective if you didn’t know what user-centricity looks like. With Page Flows in your corner, this won’t be something you need to worry about.
Page Flows is the home of an almost endless supply of annotated desktop and mobile user flow resources. We collect thousands of flow recordings and screenshots from the most user-focused brands and popular industries.
Best of all, our flows come from every aspect of the user’s journey, from onboarding to leaving reviews and ratings. In other words, we take the guesswork out of intuitive in-product navigation and optimized user experiences.
Before you try out the prototyping software we’ve recommended, you’ll want to master user navigation with Page Flows. Get started today to learn what it looks like when you master your approach to user flows!
FAQs
What is a prototype in software development?
In software development, a prototype is a realistic preliminary model of a software product. Users can interact with a prototype, allowing designers and developers to determine how the final product should look and operate.
What are the three types of prototypes?
There are three types of prototypes: low-fidelity, mid-fidelity, and high-fidelity. The fidelity levels of these prototypes vary depending on how interactive and detailed they are.
Why is it called a prototype?
The origins of the word “prototype” stem from Greek. The Greek prefix “proto” translates to “first,” and “typos” in Greek means “model” or “impression” in English. So, the word “prototype” was born from the idea of a person’s or object’s first impression.